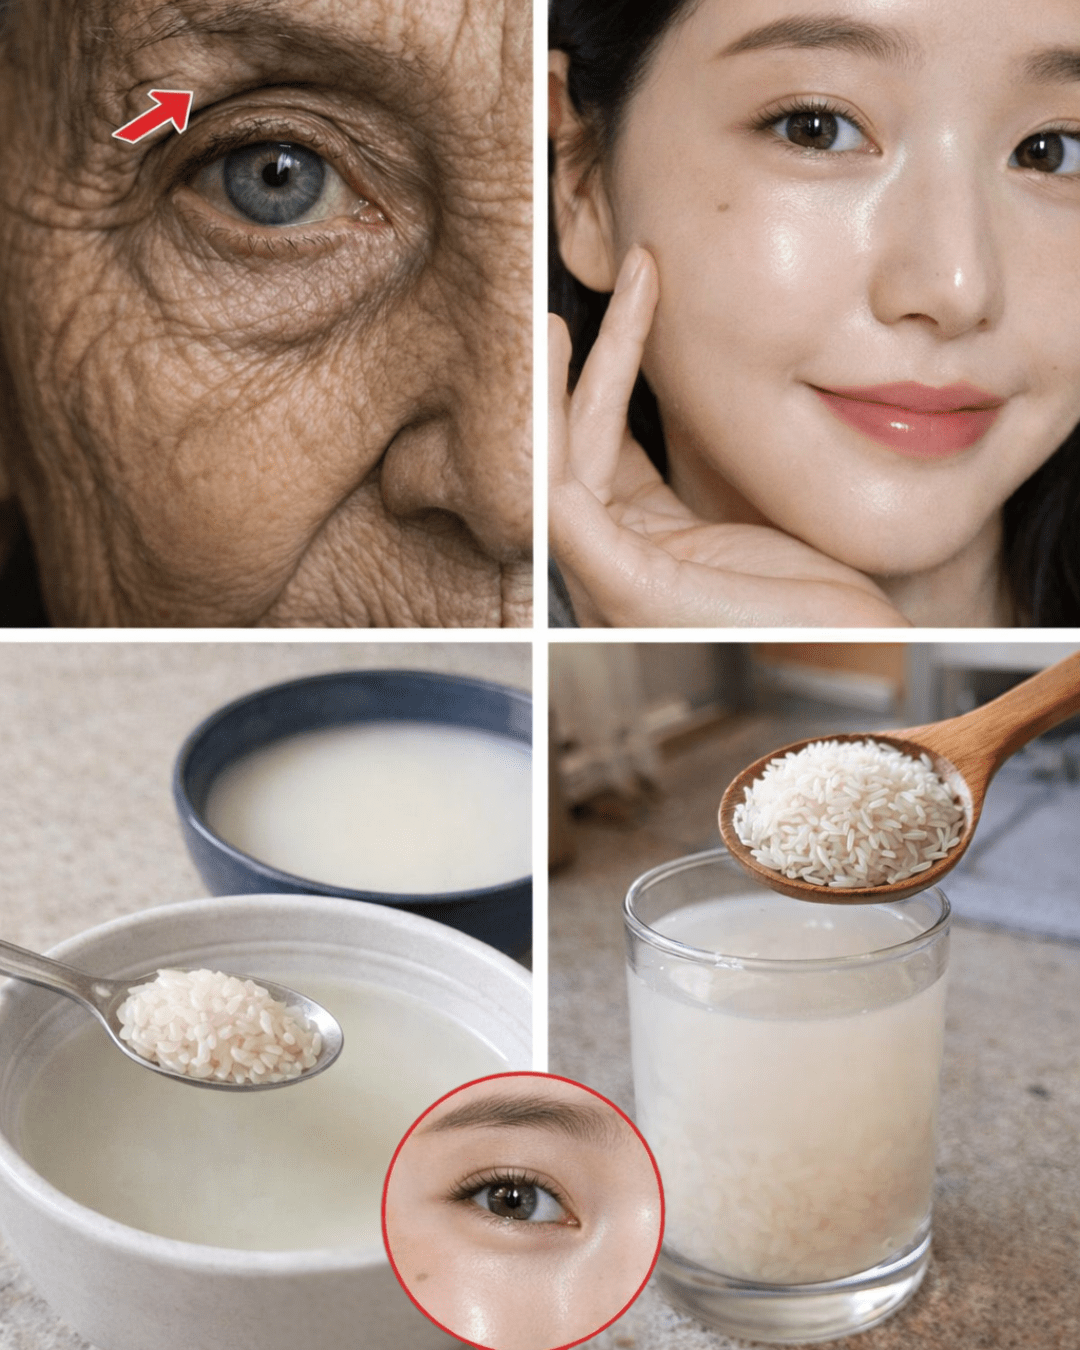
Many people dream of having softer, more radiant skin but feel overwhelmed by expensive products and complicated routines. Harsh weather, daily pollution, and stress can leave skin feeling dry, dull, and uneven. The good news is that one of the gentlest and most time-tested natural ingredients has probably been sitting in your kitchen all along — ordinary rice. In this guide, you’ll discover a straightforward homemade rice mask ritual loved for generations, plus we’ll share a little-known preparation tip at the end that makes the texture surprisingly luxurious.
Why Rice Has Been a Skincare Favorite for Centuries
Rice isn’t just food — different cultures, especially across East and Southeast Asia, have long incorporated it into daily beauty care.
Research and traditional use suggest rice contains several skin-friendly compounds:
- Ferulic acid — a powerful antioxidant
- Small amounts of natural vitamin E
- Amino acids and gentle starch
- Trace amounts of squalene and linoleic acid
These elements together help explain why rice-based preparations are so popular for supporting skin that looks and feels:
- Calm
- Hydrated
- Smooth
- Bright-looking
But that’s not all… the real magic often comes from how you prepare and use it.
What Makes This Rice Mask Different?
Most people simply wash their face with rice water (which is wonderful).
However, the full mask version — using the cooked rice itself — gives you a gentle physical exfoliation + deep hydration combination in one step.
Here’s a quick comparison:
| Method | Main Benefit | Texture on Skin | Time Needed |
|---|---|---|---|
| Rice water rinse only | Soothing, mild brightening | Very light, watery | 2–5 minutes |
| Cooked rice mask | Hydration + gentle exfoliation | Creamy, slightly grainy | 15–20 minutes |
| Rice powder scrub | Stronger exfoliation | Gritty | 5–10 minutes |
The cooked rice mask strikes a beautiful balance — nourishing without being too abrasive.
Ingredients You’ll Need (Super Simple & Affordable)
- 3 tablespoons white rice (jasmine or regular short-grain works best)
- 1 tablespoon raw honey (optional but highly recommended for extra soothing)
- 1–2 tablespoons milk, yogurt, or reserved rice cooking water
That’s it. No exotic powders, no expensive oils.
Step-by-Step: How to Prepare and Use Your Rice Mask
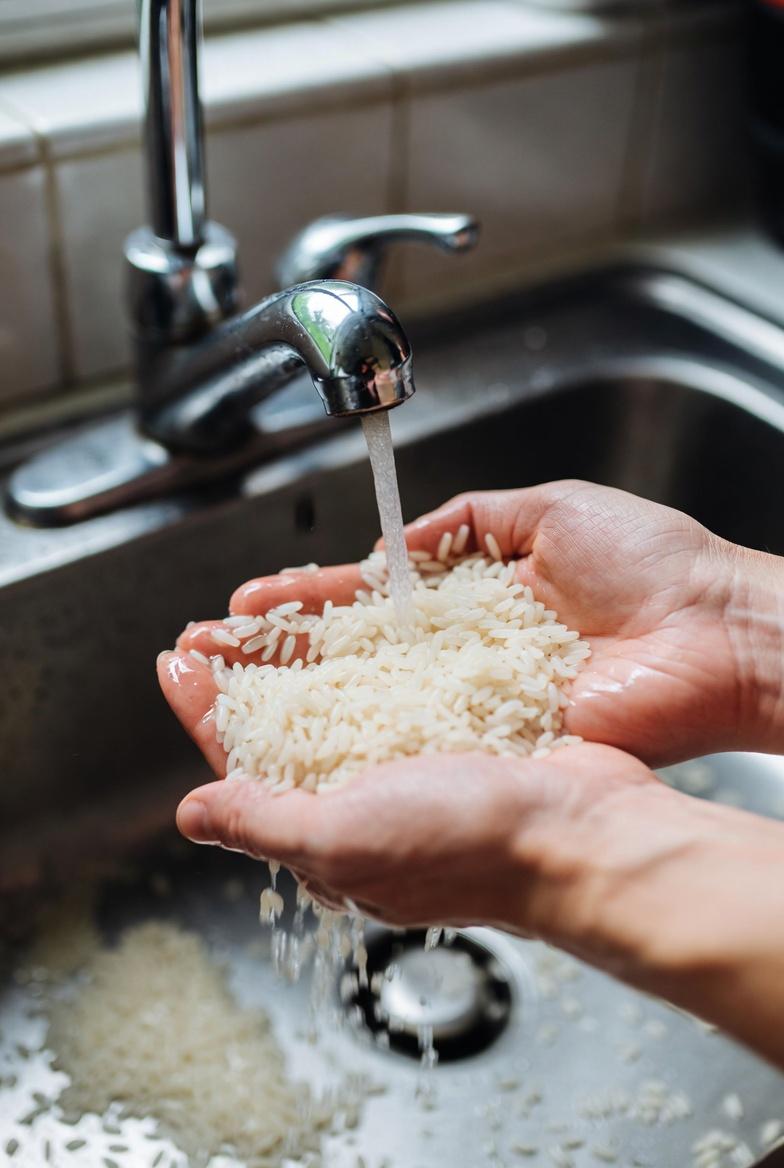
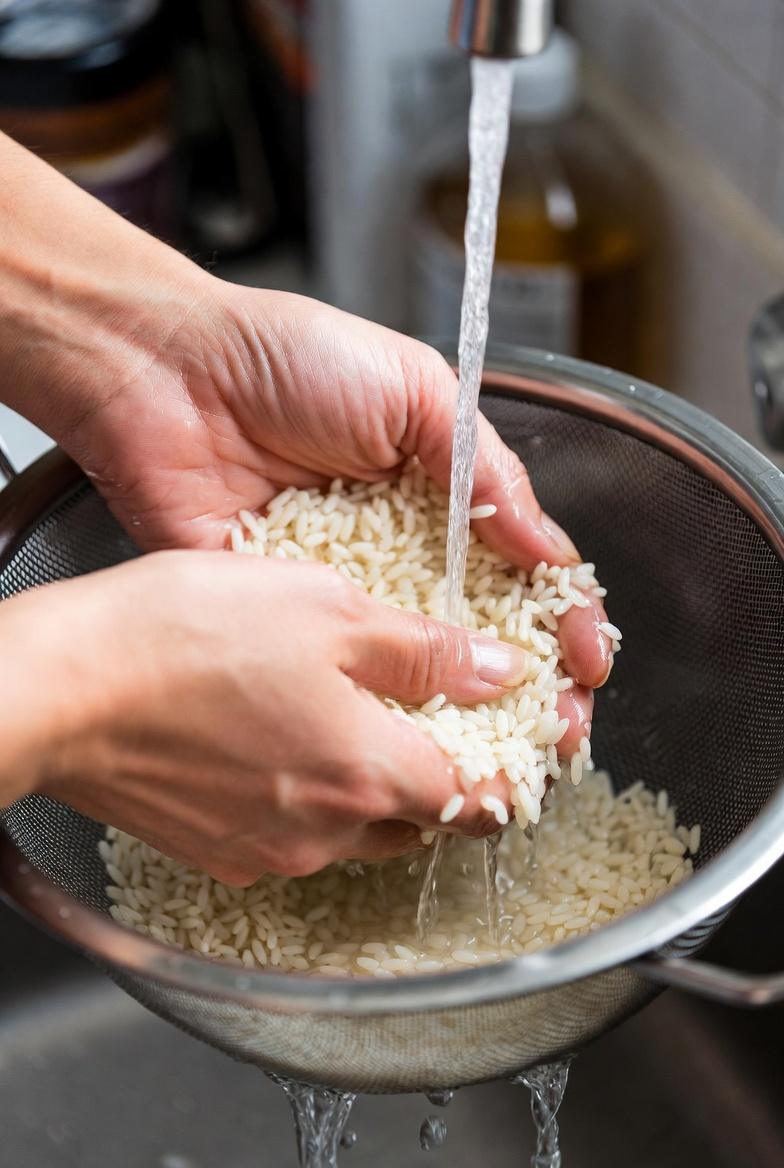
- Rinse the rice
Place 3 tablespoons of white rice in a small bowl. Rinse under cool water 2–3 times until the water runs mostly clear. This removes excess starch that can make the mask too sticky. - Cook until very soft
Add about ¾ cup water and cook on low heat until the rice is extremely soft and mushy (about 15–20 minutes). Stir occasionally.
→ Important: Save the starchy cooking water! You’ll use it later.
Here’s what the creamy cooked rice looks like when ready:
- Mash it into a paste
Let the rice cool slightly (warm is fine, hot is not). Mash thoroughly with a fork or the back of a spoon until you get a creamy, slightly grainy texture. - Mix in your boosters
Stir in 1 tablespoon honey + 1–2 tablespoons of either milk/yogurt or the reserved rice water.
Adjust until you reach a smooth, spreadable consistency — think thick yogurt.
This is the luxurious moment most people miss:
- Apply gently
On clean, dry skin, spread the mask over your face and neck. Avoid the delicate eye area.
Relax for 15–20 minutes. You’ll feel the mask slowly tighten just a little as it dries. - Remove the smart way
Wet your hands with the reserved rice water and gently massage in circular motions to loosen the mask. Rinse thoroughly with more rice water or plain lukewarm water. - Finish simple
Pat dry and follow with your usual lightweight moisturizer.
How Often Should You Use It?
Most people get the best experience using this mask 3–4 times per week.
If your skin is very sensitive, start with 1–2 times weekly and observe how it feels.
What People Usually Notice After Consistent Use
While individual results vary greatly depending on skin type, environment, and overall routine, many report:
- Skin feels noticeably softer and more comfortable after the first few uses
- Complexion appears more even and fresh-looking over 1–2 weeks
- A pleasant, hydrated feeling throughout the day
- Gentle overall brightening effect with continued use
Remember: this is supportive skincare — not medical treatment.
Pro Tips to Get Even Better Results
- Use slightly warm rice water for rinsing — it feels more luxurious
- For extra soothing: chill the finished mask for 10 minutes before applying
- Patch test first on your inner arm, especially if you’ve never used honey on your face
- Store any leftover mask in the fridge for up to 24 hours (stir well before re-using)
Frequently Asked Questions
Can I use brown rice instead of white rice?
Yes, but brown rice has a rougher texture and stronger scent. White rice is generally gentler and more traditional for facial masks.
Is this mask safe for acne-prone skin?
Many people with combination or mild acne-prone skin enjoy it because it’s non-comedogenic and soothing. However, always patch test and introduce slowly.
How long can I keep using rice water after cooking?
Fresh is best. Use within 24 hours if refrigerated. After that, it can ferment and develop an odor.
Final Thoughts
Beautiful skin doesn’t always require fancy products or 10-step routines. Sometimes the most effective rituals are the simplest ones — rooted in tradition and made with ingredients you already trust.
This humble rice mask offers a peaceful 20-minute escape that leaves skin feeling pampered and looked-after.
Have you tried rice in your skincare before? What traditional beauty tip from your family or culture would you add to this ritual? Share in the comments — I’d love to hear your stories!
Disclaimer: The information in this article is for educational and informational purposes only. It is not intended to be a substitute for professional medical advice, diagnosis, or treatment. Always perform a patch test before applying any new ingredient to your face, and consult a dermatologist or healthcare professional if you have specific skin concerns or conditions.
(Word count: ~1,280)